
Configuring SSH in VScode
Configuring SSH for Remote Control in VScode
Introduction:
Visual Studio Code (VSCode) is a lightweight, clean, and elegant code editor. Recently, while learning socket programming, I needed a Linux environment. However, I found editors like vim and nano inconvenient for writing code, which led me to explore remote coding using VSCode.
Fortunately, VSCode’s Remote-SSH extension supports this idea perfectly!
Preparations Before Installation
Since we will be using SSH to connect to a remote server, Windows must support SSH.
You can enable SSH by installing Git. To verify if SSH is installed, pressWin + R, typecmd, and in the command prompt, enterssh. If the prompt appears as shown below, it means SSH is installed correctly.
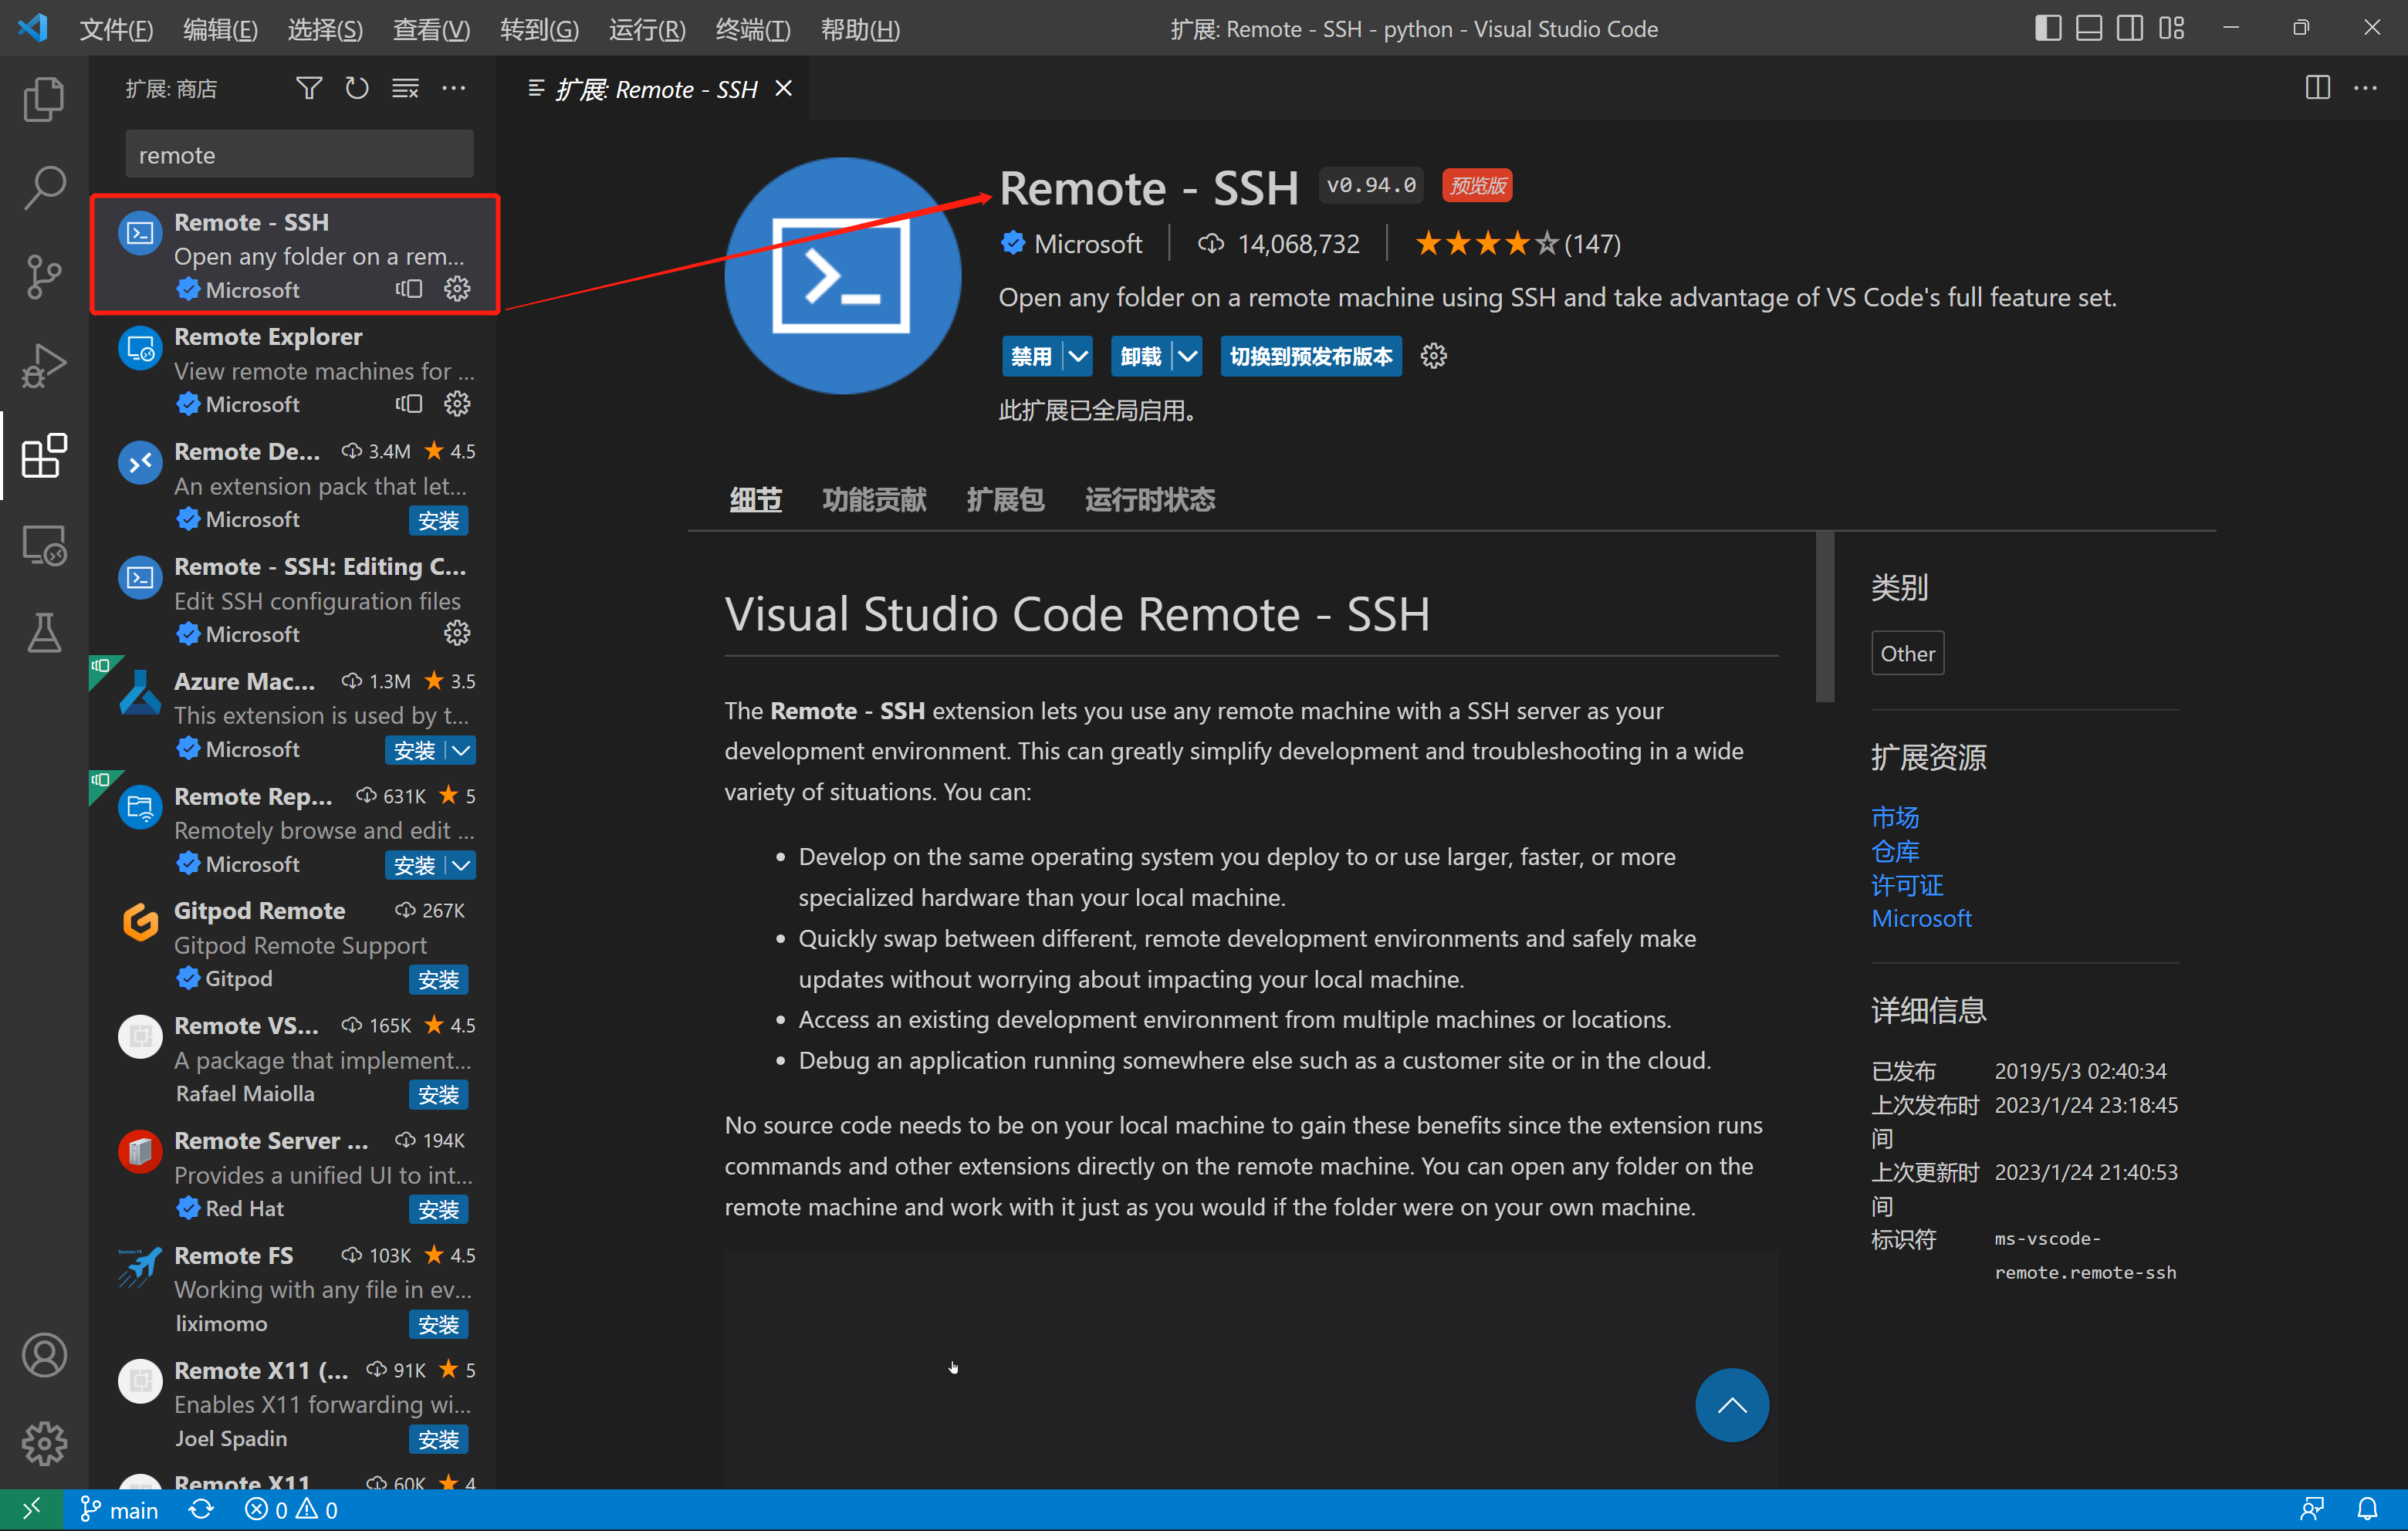
Installing the Remote-SSH Extension in VSCode
One of the most convenient aspects of using VSCode is the wide variety of available extensions.
For this task, we’ll use the Remote - SSH extension. It looks like this, so don’t mix it up:
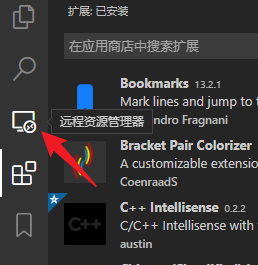
Once installed, you’ll see a “Remote Explorer” icon in the sidebar:
Establishing an SSH Remote Connection
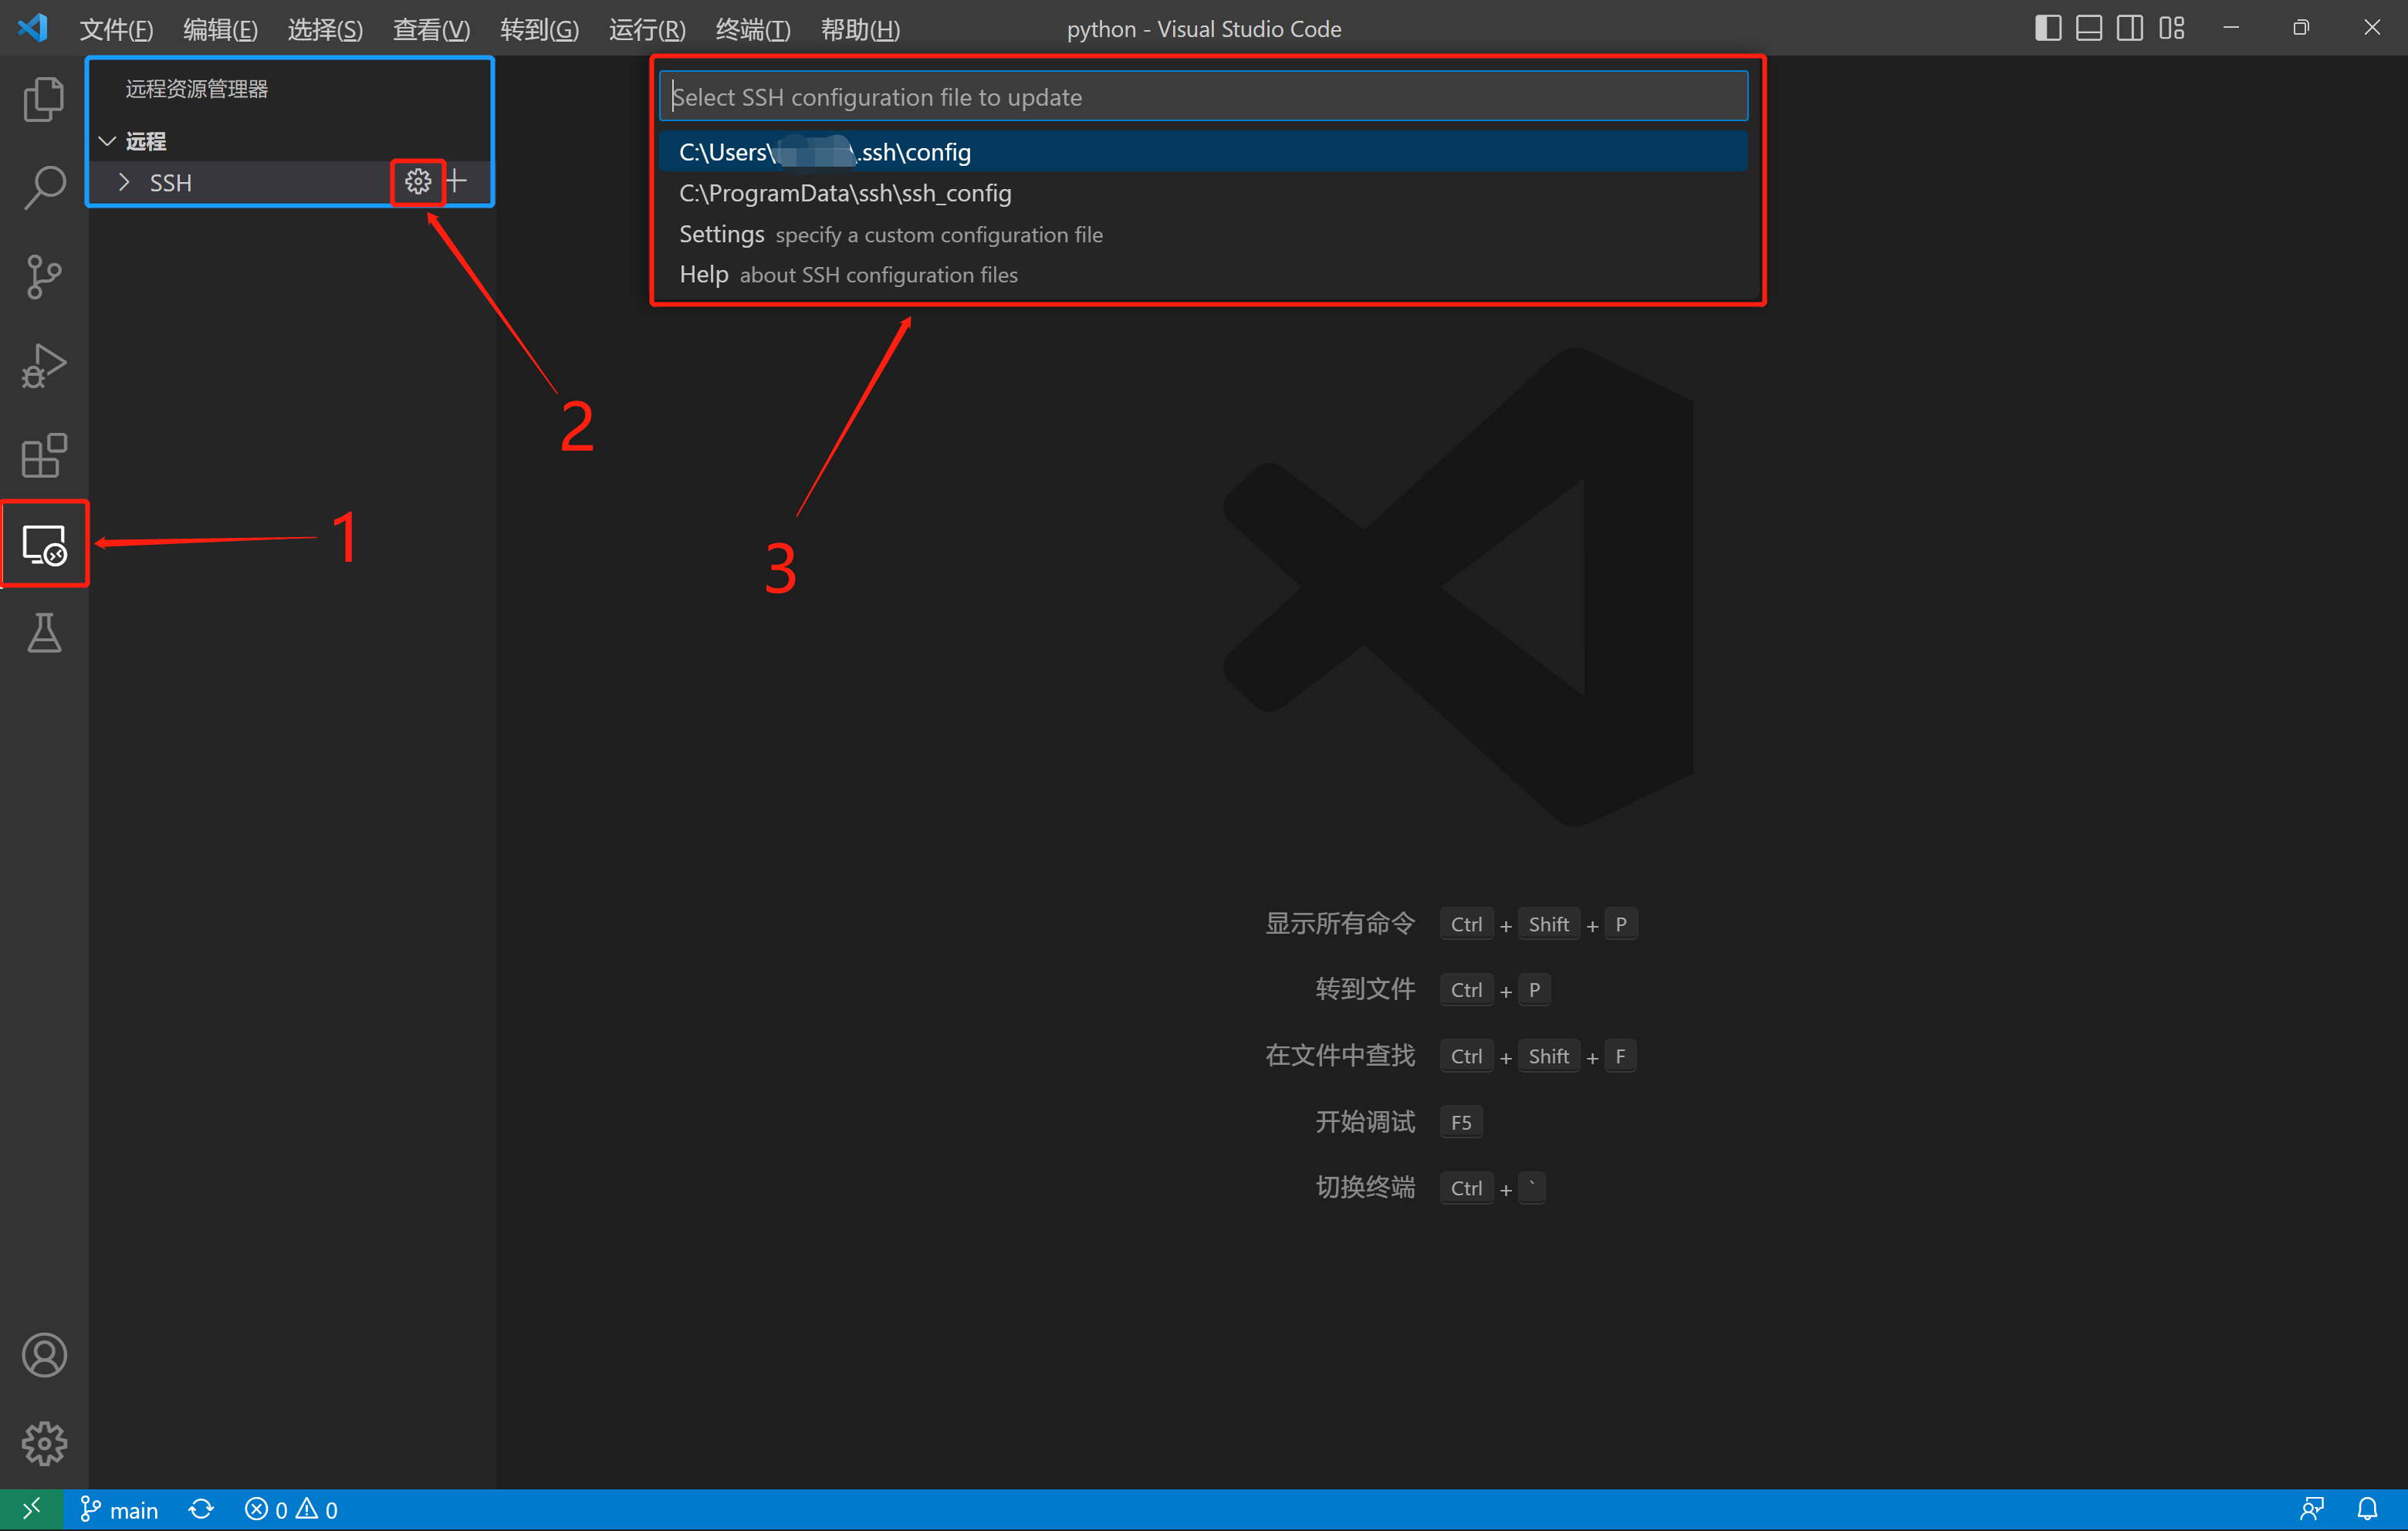
- Click on the “Remote Explorer” icon.
- Click the “Configure SSH” button.
- Select an SSH configuration file to set up.
The format of the configuration file is shown below:
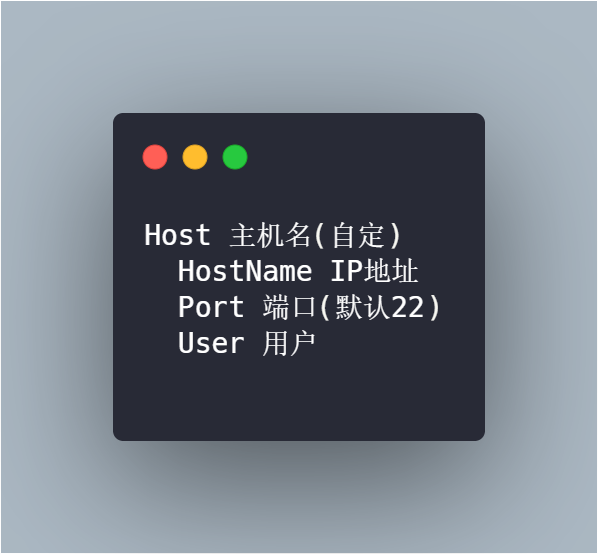
- Host: Custom name for your server.
- HostName: Server’s IP address.
- User: SSH login username.
- Port: The port for SSH connection (add this if the port is non-default).
- IdentityFile: Path to the private key file (add this if you’re using a private key).
Common Method: Logging into a Remote Server Using a Password
After configuring the file, press ctrl+s to save it.
Your configured server will then appear here. A new window will pop up to connect to the remote server.
In the new window, you’ll be prompted to enter the password. Press Enter after typing the password (if using a username/password connection, you’ll need to input the password each time).

A new VSCode window will open. The first connection may take some time and will prompt you to specify the operating system type of the remote machine—select Linux.
After installing the necessary dependencies, the connection will be successful.
Key Points to Note
- You will need to enter the password each time you connect remotely.
- Plugins need to be reinstalled for new servers.
- Some plugins might not be compatible with remote development mode.
Advanced Method: Logging into a Server Using an SSH Key
In Windows 10, run the following command to generate an SSH key:
1 | ssh-keygen -t rsa -b 4096 -f %USERPROFILE%/.ssh/debian_rsa |
- You can select the save location (just press Enter to use the default).
- When prompted for a passphrase, press Enter to skip it. The key files (e.g.,
debian_rsa.pub) will then be generated.
Here’s an example:
1 | [root@luoyuan home]# ssh-keygen -t rsa |
Resulting output:
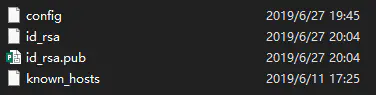
Public and private key files will be located in the .ssh folder under C/User/YourUsername/.ssh.
Step 3: Upload the Public Key to the Server
Open PowerShell as an administrator and navigate to the .ssh folder:
1 | cd C:\Users\YourUsername.ssh |
Next, use the SCP command to upload the public key to the root directory on your server:
1 | scp id_rsa.pub YourServerUsername@YourServerIP:/root |
Here’s an example of a successful upload:

If a specific port is required for the connection, use the following command (note the uppercase P):
1 | scp -P YourPortNumber id_rsa.pub YourServerUsername@YourServerIP:/root |
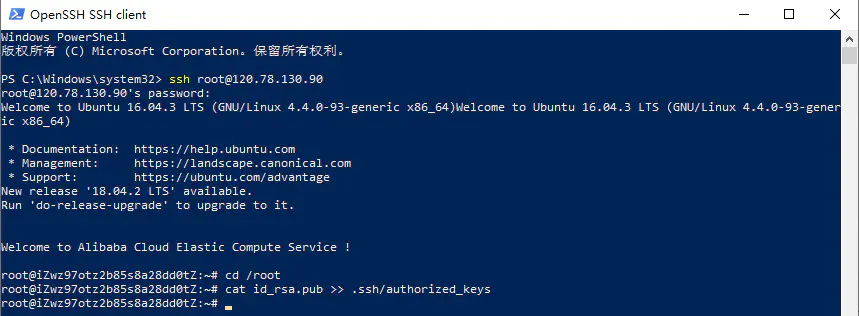
Step 4: Add the Public Key to the Server’s authorized_keys File
Log into the server using Putty, PowerShell, or even the method described earlier via VSCode. Then enter the following commands:
1 | cd /root |
This adds the public key to the authorized_keys file.
Once this is done, you can connect to the server via VSCode without needing a password. Likewise, PowerShell will no longer require a password for SSH connections, as the public/private key pair is tied to your computer.
Important Notes:
- Always use the
ssh-keygencommand to generate SSH keys. Creating private keys manually may lead to permission issues. - If your private key is password-protected, you’ll need to enter the password each time you log in.
 wechat
 alipay